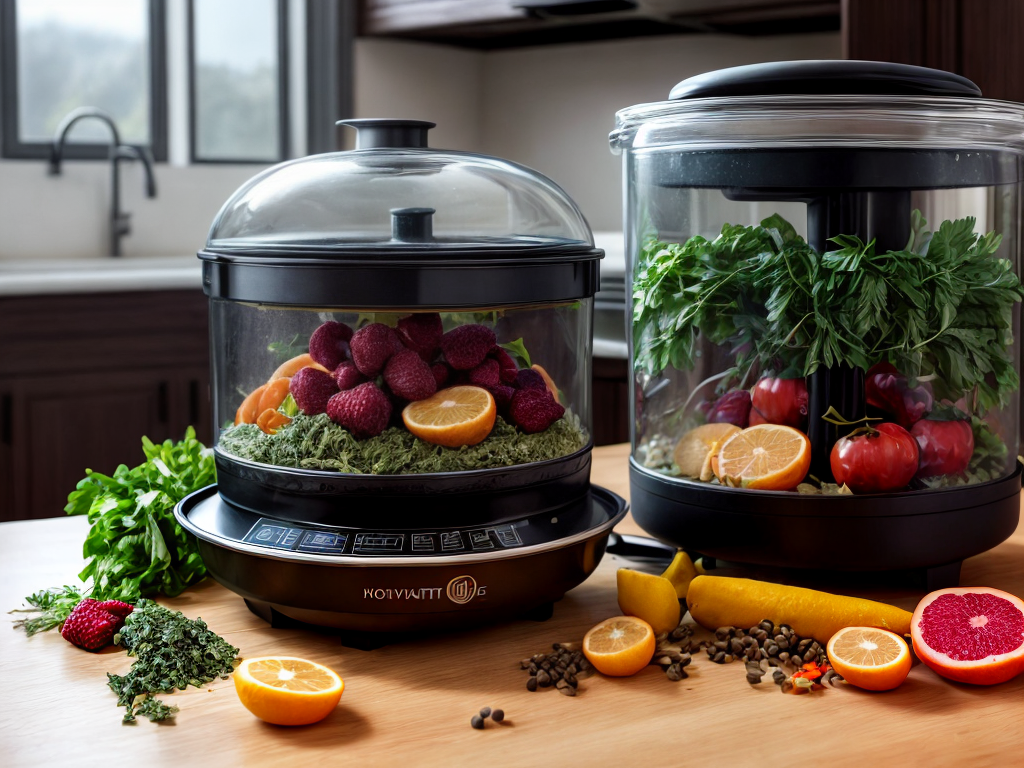
As an avid advocate of preserving food, I have found that using a food dehydrator for long-term storage is a smart and savvy solution. By removing moisture from the food, a dehydrator helps to prevent spoilage and extend the shelf life of fruits, vegetables, and meats. But how exactly do you use this handy appliance to achieve optimal results? Well, in this discussion, I will guide you through the process, from selecting the right produce to testing for dryness, so that you can confidently store your dehydrated goodies for months to come. So, let’s dive in and uncover the secrets of food dehydration for long-term storage.
Choosing the Right Produce
When selecting produce for long-term storage using a food dehydrator, it is crucial to choose fresh, ripe fruits and vegetables. This ensures that the end result is flavorful and nutritious. To begin, carefully inspect each piece of produce, looking for any signs of damage or spoilage. It’s important to remove any bruised or overripe areas, as they can lead to quicker spoilage during storage. Additionally, choose fruits and vegetables that are at the peak of ripeness, as they will have the best flavor and texture once dehydrated.
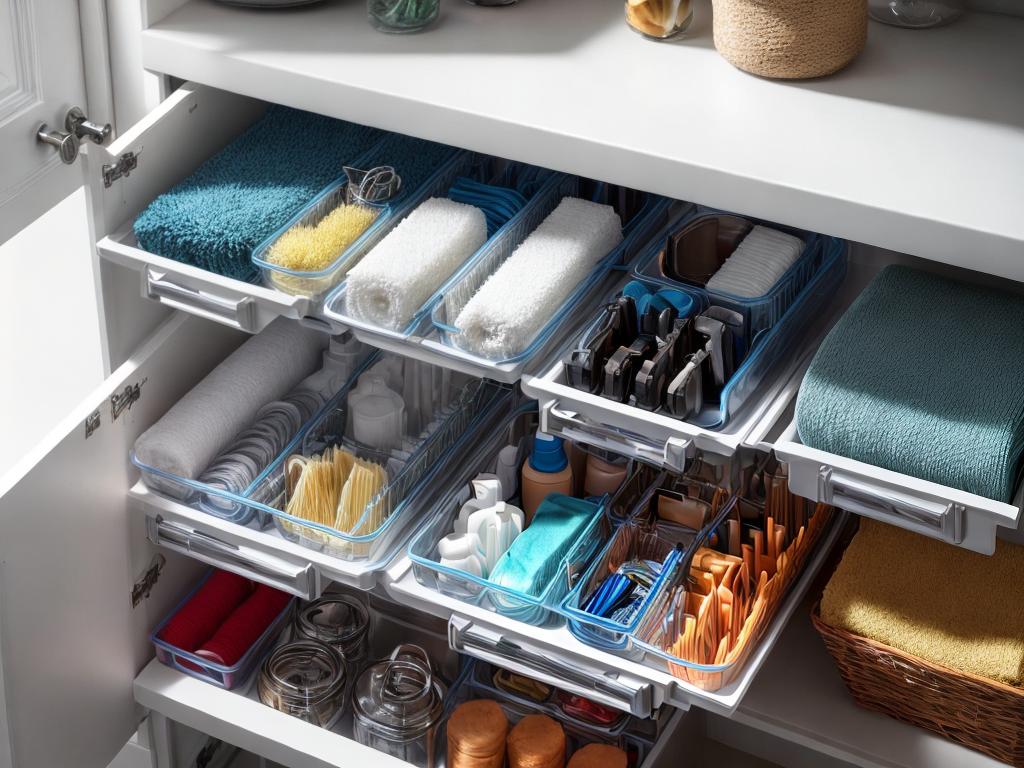
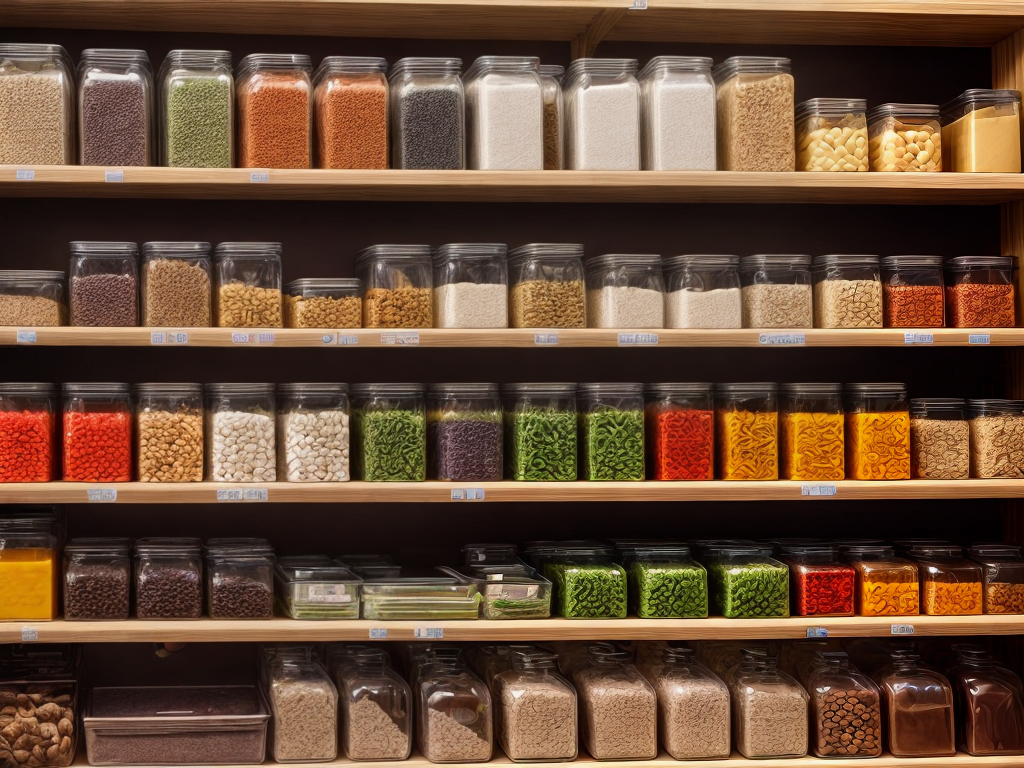
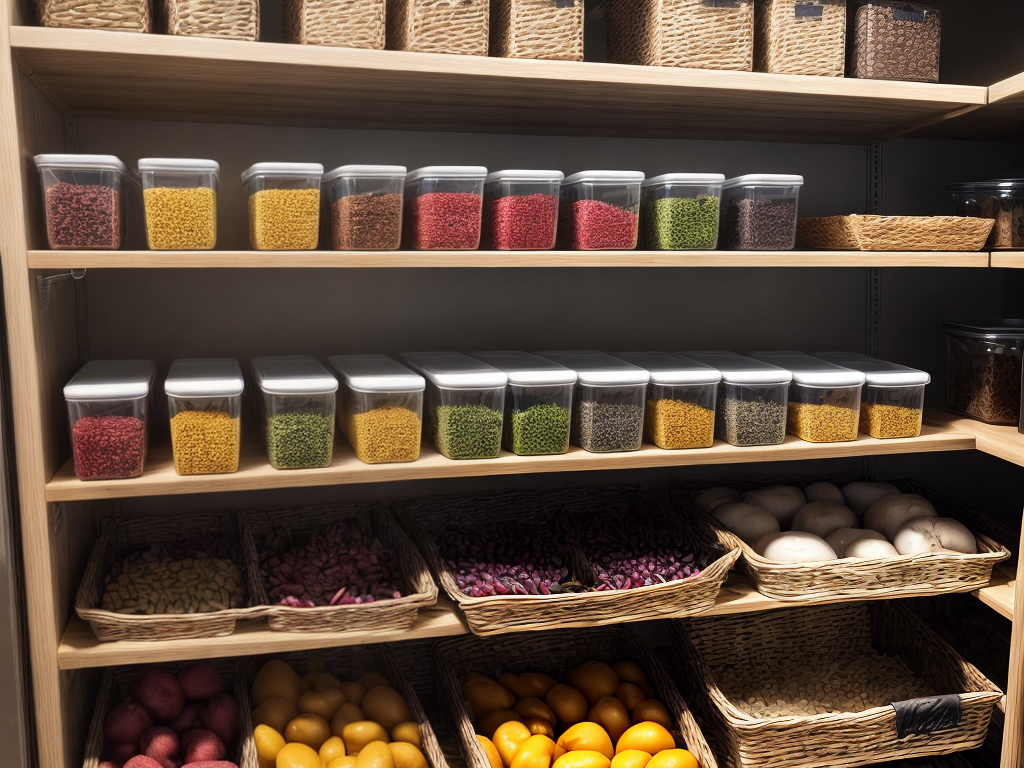
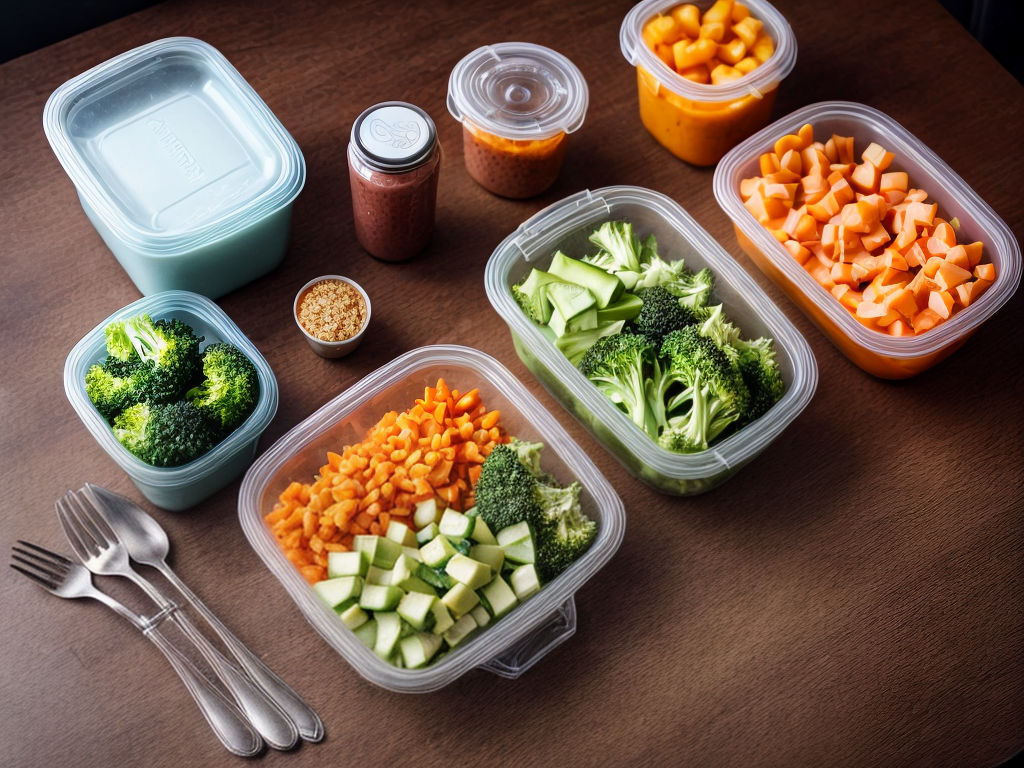
After selecting the best produce, it’s equally important to choose the right storage containers to prevent spoilage. Opt for airtight containers that are specifically designed for long-term food storage. Mason jars, food-grade plastic containers, or vacuum-sealed bags are all great options. Make sure to clean and sanitize the containers before use to eliminate any potential bacteria or contaminants.
Properly packaging the dehydrated produce in these containers will help keep moisture and air out, preventing spoilage and extending the shelf life. Label each container with the type of produce and the date it was dehydrated for easy organization and tracking.
Preparing the Food for Dehydration
To properly prepare the produce for dehydration, it is important to thoroughly wash and slice the fruits and vegetables. Here are four essential steps to follow for effective food preparation:
-
Washing: Begin by washing the produce under cool running water. Use a brush or your hands to gently remove any dirt or debris. This step is crucial for removing bacteria, pesticides, and other contaminants.
-
Peeling and Trimming: Next, peel the skin off fruits and vegetables with thick or tough skins, such as apples or carrots. For items like potatoes or cucumbers, trim off any blemishes or damaged areas.
-
Slicing: Cut the produce into uniform slices to ensure even drying. This will help the food dehydrate at the same rate, preventing some pieces from being under or over-dried. Aim for slices that are about 1/4 to 1/8 inch thick.
-
Cutting Techniques: Experiment with different cutting techniques to achieve the desired texture. For example, slicing fruits into rounds or strips can create chewy snacks, while dicing vegetables can be useful for soups or stews.
Loading the Dehydrator Trays
When loading the trays of a food dehydrator, it’s important to arrange the food properly and ensure proper spacing. This will allow for efficient airflow and even drying. By following these tips, you can maximize the effectiveness of your dehydrator and achieve optimal results.
Tray Arrangement Tips
For optimal results, arrange the trays in your food dehydrator strategically to ensure even and efficient drying. Here are four key tips to consider when loading your dehydrator trays:
-
Start from the bottom: Begin by placing the trays with foods that require longer drying times at the bottom. This allows the heat to rise evenly through the trays, ensuring that all the food is dried thoroughly.
-
Space evenly: Leave enough space between the food items to ensure proper airflow. This allows the hot air to circulate evenly around each piece of food, preventing any areas from drying faster or slower than others.
-
Rotate trays: To further promote even drying, rotate the trays periodically during the drying process. This ensures that each tray receives equal exposure to the heat and airflow, maximizing the efficiency of your dehydrator.
-
Maximize capacity: Make use of all the available space on each tray without overcrowding. However, be mindful not to overlap or touch the food items, as this can hinder proper drying.
Proper Spacing of Food
Arranging the food in your dehydrator trays with proper spacing is crucial for ensuring efficient and even drying. When loading the trays, it is important to avoid food stacking, as this can hinder air circulation and result in uneven drying. Proper spacing allows the hot air to flow freely around each piece of food, ensuring that it dries evenly from all sides. To achieve this, make sure to spread out the food in a single layer on each tray, leaving some space between the pieces. This will allow the air to circulate evenly and remove moisture from the food effectively. By following these spacing guidelines, you can ensure that your dehydrator works efficiently and produces perfectly dried food for long-term storage.
Setting the Temperature and Time
When it comes to using a food dehydrator for long-term storage, setting the temperature and time is crucial. The temperature selection determines how quickly the food will dry, while the time duration ensures that it is properly dehydrated. By understanding the proper dehydration techniques, such as adjusting the temperature and time based on the type of food, we can maximize the shelf life and quality of our dehydrated goods.
Temperature Selection
To achieve optimal results when using a food dehydrator for long-term storage, it is crucial to select the appropriate temperature and time settings. Temperature control plays a key role in preserving the quality and safety of your dehydrated food. Here are four important considerations when adjusting the temperature:
-
Start with the recommended temperature: Most food dehydrators come with a guide that suggests specific temperatures for different types of food. It is essential to follow these guidelines to ensure desired results.
-
Consider the moisture content: Foods with high moisture content require higher temperatures to dehydrate properly. Adjust the temperature accordingly to remove moisture effectively and prevent spoilage.
-
Balance between time and temperature: Higher temperatures can expedite the dehydration process, but it is crucial to strike a balance with the duration to avoid over-drying or affecting the food’s texture and flavor.
-
Experiment and monitor: Every dehydrator operates differently, so it’s important to experiment with different temperature settings for various types of food. Monitor the progress regularly to find the ideal temperature that works best for you.
Time Duration
To ensure optimal results when using a food dehydrator for long-term storage, it is crucial to carefully set the temperature and time duration for the dehydration process. Determining the right time duration is essential in achieving the desired level of dehydration and preventing spoilage. Each type of food has a specific time requirement for dehydration, which depends on its moisture content and thickness. It is important to consult the dehydrator’s manual or refer to reliable sources for accurate guidelines. Over-drying can lead to loss of flavor and texture, while under-drying may result in moisture retention and bacterial growth. By following the recommended time duration, you can confidently determine the readiness of your dehydrated food and ensure its long-term storage without the risk of spoilage.
Proper Dehydration Techniques
For optimal results, it is important to carefully set the temperature and time duration when using a food dehydrator for long-term storage. Here are four key factors to consider when using dehydration equipment to preserve nutrients:
-
Temperature: Set the dehydrator temperature between 125°F and 135°F (52°C and 57°C) for most fruits, vegetables, and herbs. Higher temperatures may cause the food to lose its nutritional value, while lower temperatures may not effectively remove moisture.
-
Time: The drying time varies depending on the type and thickness of the food. Generally, it can take anywhere from 6 to 12 hours, but some fruits may require up to 24 hours. Check the manufacturer’s instructions and monitor the food regularly to ensure it reaches the desired texture and moisture content.
-
Uniformity: Ensure that the food pieces are cut into uniform sizes to ensure even drying. Smaller pieces will dry faster than larger ones, leading to inconsistent results.
-
Air Circulation: Proper air circulation is crucial for efficient drying. Avoid overcrowding the dehydrator trays and leave enough space between the food items for the air to flow freely.
Monitoring the Dehydration Process
I highly recommend regularly checking the dehydration progress to ensure optimal results when using a food dehydrator for long-term storage. Monitoring the dehydration process is an essential step in achieving the desired outcome. By using specific monitoring techniques, you can troubleshoot any potential issues and make adjustments as needed.
One effective monitoring technique is to keep a log of the drying time and temperature for each batch of food. This will help you identify patterns and determine the optimal settings for future use. Additionally, it is important to visually inspect the food periodically. Look for signs of even drying, such as a leathery texture and absence of moisture beads. If you notice any uneven drying or signs of spoilage, it may be necessary to adjust the drying time or temperature.
Another troubleshooting tip is to rotate the trays during the drying process. This will ensure that all the food is exposed evenly to the airflow. Uneven drying can lead to inconsistent results and potentially spoil the food.
Regularly monitoring the dehydration process will help you achieve the best results and ensure that your food is properly preserved for long-term storage. By being vigilant and making adjustments when necessary, you can confidently enjoy the benefits of using a food dehydrator.
Testing for Dryness
To ensure that your food is adequately dehydrated for long-term storage, it is important to test for dryness before removing it from the food dehydrator. Here are four testing methods to help you determine if your food is dry enough:
-
Visual Inspection: Examine the food for any signs of moisture or stickiness. It should appear shriveled and have a leathery texture. If there are any moist or soft spots, the food is not fully dehydrated.
-
Bend Test: Gently bend the dehydrated food. It should flex and not break. If it snaps or crumbles, it is not dry enough and needs more time in the dehydrator.
-
Weight Test: Weigh a sample of the dehydrated food before and after the drying process. If there is a significant difference in weight, it indicates that the food still contains moisture and requires further dehydration.
-
Moisture Test: Place a small amount of the dehydrated food in a sealed container for 24 hours. If condensation forms on the container or the food becomes soft, it means there is still moisture present, and the food needs more drying time.
Storing Your Dehydrated Goods
To properly store your dehydrated goods, it is essential to follow a few key steps. Storing techniques play a crucial role in preserving flavors and ensuring the longevity of your dehydrated foods. One important aspect of storing your dehydrated goods is to make sure they are completely dry before packaging. Any moisture left in the food can lead to mold growth and spoilage. Once your dehydrated goods are dry, it is recommended to store them in airtight containers or vacuum-sealed bags. These containers will protect your food from exposure to air, which can cause oxidation and deterioration of flavors. It is also important to store your dehydrated goods in a cool, dark, and dry place. Heat, light, and humidity can all negatively affect the quality and shelf life of your dehydrated foods. Lastly, don’t forget to label your containers with the name of the food and the date of dehydration. This will help you keep track of freshness and ensure that you use the oldest items first. By following these storing techniques, you can preserve the delicious flavors of your dehydrated goods for an extended period.
Conclusion
In conclusion, using a food dehydrator for long-term storage is a simple and effective way to preserve your produce. By choosing the right produce, preparing it properly, and monitoring the dehydration process, you can ensure that your dehydrated goods are dry and ready for storage. With the right techniques, you can confidently store your dehydrated goods for extended periods, ensuring that you have a supply of nutritious food on hand whenever you need it.


