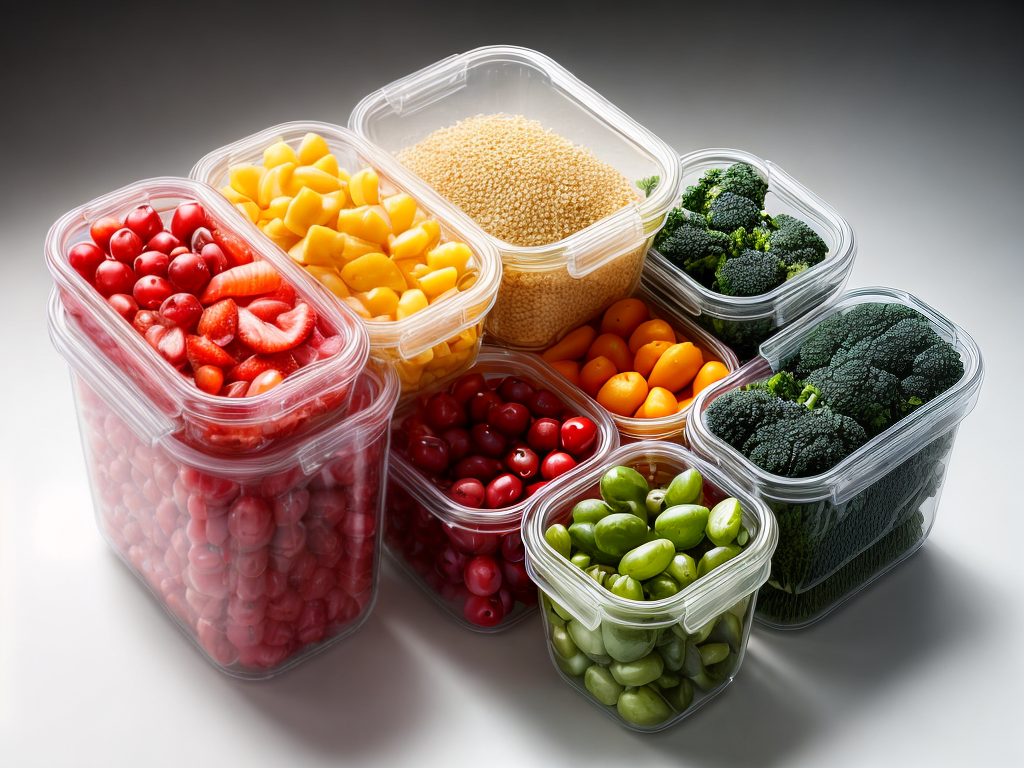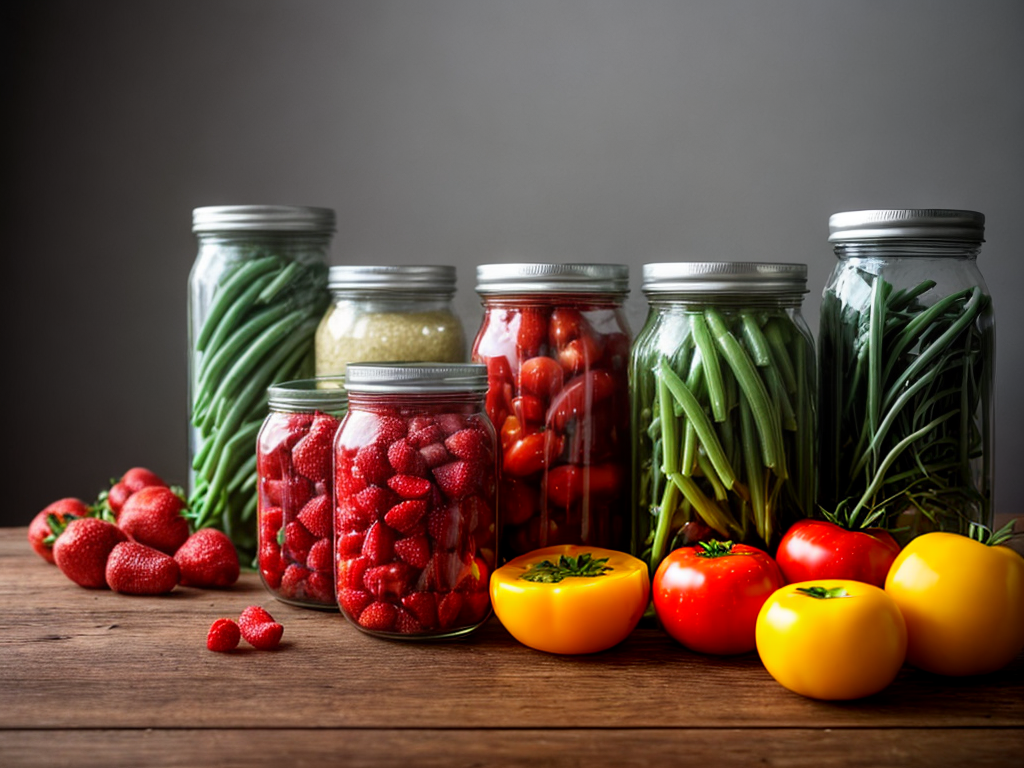
Have you ever wondered how to preserve your favorite fruits and vegetables to enjoy them all year round? Well, let’s investigate the theory that canning is the answer. In this beginner’s guide to preserving food, I will provide you with concise, thorough, and authoritative information on the basics of canning, essential tools and equipment, choosing the right foods for canning, preparing and sterilizing jars, the step-by-step canning process, storing and labeling your canned goods, and troubleshooting common canning issues. Join me as we unravel the secrets of canning and unlock a world of delicious, homemade goodness.
The Basics of Canning
In this section, we will explore the fundamental principles and techniques of canning for beginners. When it comes to preserving food, canning is one of the most effective methods. Canning allows us to safely store our favorite fruits, vegetables, and even meats for extended periods. There are two primary canning techniques: water bath canning and pressure canning.
Water bath canning is ideal for high-acid foods like fruits, pickles, and tomatoes. The process involves submerging jars in a boiling water bath for a specific amount of time. This kills any potential bacteria, molds, or yeasts and creates a vacuum seal that preserves the food.
On the other hand, pressure canning is necessary for low-acid foods like meats, poultry, and vegetables. These foods require higher temperatures to eliminate harmful bacteria like botulism. Pressure canning involves using a specialized pressure canner that reaches and maintains the necessary temperature and pressure for safe preservation.
It is crucial to follow the recommended canning techniques and preserving methods to ensure the safety and longevity of your canned goods. By understanding these basics, you will be well-equipped to embark on your canning journey with confidence.
Essential Tools and Equipment
To successfully engage in canning, it is essential to have the right tools and equipment at your disposal. Here are three key items that are crucial for safe and efficient canning:
-
Canning Safety: A good quality water bath canner or pressure canner is a must-have for canning. These canners are designed to create the ideal environment for safely preserving food. They ensure that the jars reach the appropriate temperature to kill any bacteria or organisms that could cause spoilage or illness. Additionally, using a jar lifter and a wide-mouth funnel can help prevent burns and spills when handling hot jars and pouring liquids into them.
-
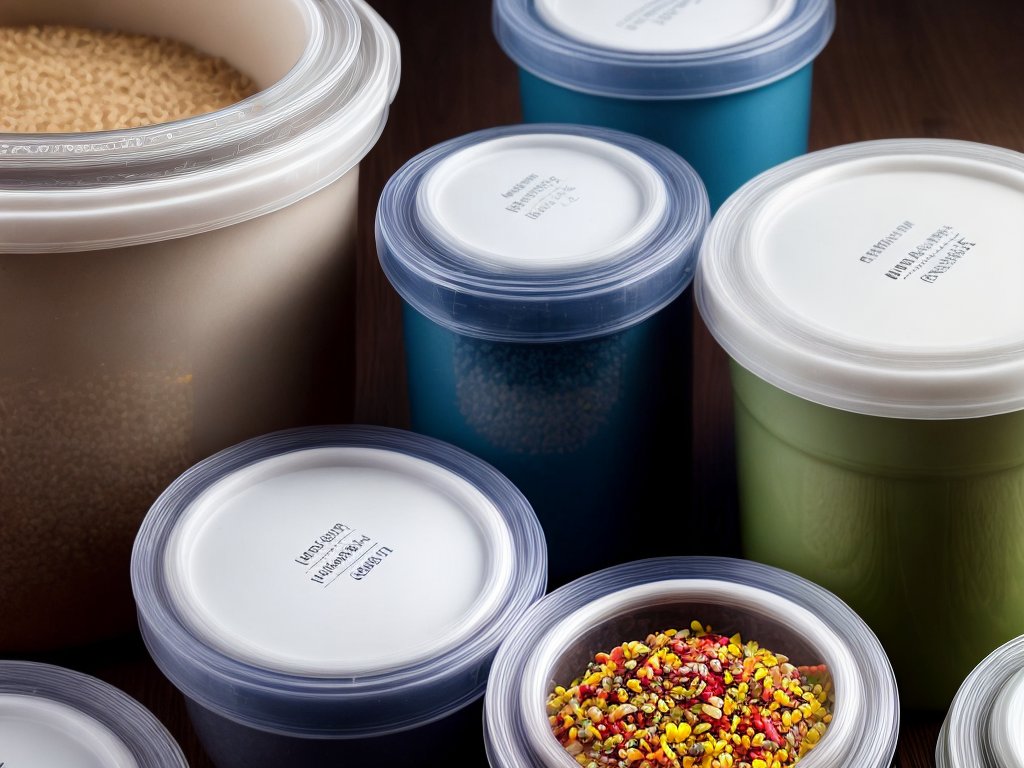
Proper Jar Storage: Choosing the right jars for canning is important to ensure the preservation of your food. Mason jars with two-piece lids are commonly used for canning because they create an airtight seal. It is important to store your jars in a cool, dry place away from direct sunlight. This will help to prevent spoilage and maintain the quality of your preserved food.
Having the proper tools and equipment is vital for successful canning. By prioritizing canning safety and understanding the importance of proper jar storage, you can confidently embark on your canning journey with the assurance that your preserved food will be safe and delicious.
Choosing the Right Foods for Canning
Now that you have the essential tools and equipment for canning, let’s explore the key factors to consider when choosing the right foods for canning. Selecting appropriate produce is crucial to ensure successful preservation. Look for fruits and vegetables that are ripe but still firm, as overripe or underripe produce may not hold up well during the canning process. Focus on high-quality, fresh produce to capture the best flavors and textures in your preserved foods.
When selecting fruits and vegetables, choose varieties that are known to can well. Some examples include tomatoes, peaches, pears, and green beans. It’s also essential to consider the acidity of the food you plan to can. Low-acid foods, such as most vegetables and meats, require pressure canning to eliminate the risk of bacterial growth. On the other hand, high-acid foods, like fruits and pickles, can be safely canned using a water bath canner.
Proper canning techniques are vital to maintain the quality and safety of your preserved foods. Follow the guidelines and instructions provided by reputable sources, such as the National Center for Home Food Preservation. Make sure to process your canned goods for the recommended time and at the appropriate temperature to ensure that harmful bacteria are destroyed.
Preparing and Sterilizing Jars
To ensure the cleanliness and safety of your preserved foods, it is crucial to properly prepare and sterilize your jars. Here are the steps to follow when preparing and sterilizing jars for canning:
- Clean the jars: Wash the jars with hot, soapy water and rinse them thoroughly. Inspect each jar for any cracks or chips, as these can prevent a proper seal.
- Sterilize the jars: Place the cleaned jars in a large pot and cover them with water. Bring the water to a boil and let the jars simmer for 10 minutes. This process kills any bacteria or microorganisms that could spoil your preserved foods.
- Keep the jars hot: After sterilizing, remove the jars from the pot and place them on a clean towel. Keep the jars warm until you are ready to fill them with your preserved foods. This can be done by placing them in a warm oven or using a hot water bath.
Step-by-Step Canning Process
Now that we have our sterilized jars ready, let’s move on to the step-by-step canning process. In this section, I will guide you through the equipment you’ll need and how to prepare the jars for canning. It’s important to have everything in place before we start, so let’s get started.
Equipment Needed
I suggest gathering the necessary equipment for the step-by-step canning process. Here is a canning equipment checklist to ensure you have everything you need:
- Jars: Look for brands like Ball or Kerr, which are known for their quality and reliability.
- Lids and bands: Make sure you have enough of these to seal your jars properly. Again, trusted brands like Ball or Kerr are recommended.
- Canning pot: Invest in a large pot specifically designed for canning. This will ensure even heat distribution and proper sterilization of your jars.
Having the right equipment is crucial for successful canning. By using reputable brands for your canning supplies, you can have peace of mind knowing that your preserved food will be safe and delicious. Now that you have your equipment ready, let’s move on to the next step: preparing the jars.
Preparing the Jars
After gathering the necessary equipment, the next step in the canning process is to prepare the jars. This is an essential step to ensure the safety and success of your canned goods. There are different types of jars available for canning, including Mason jars and Ball jars. It’s important to choose jars that are specifically designed for canning, as they are made to withstand the high heat and pressure involved in the process.
To prepare the jars, start by washing them thoroughly with hot, soapy water. Inspect each jar for any cracks or chips, as these can compromise the seal. Next, place the jars in a large pot and cover them with water. Bring the water to a boil and let the jars simmer for 10 minutes. This step helps to sterilize the jars and prepare them for filling.
Table:
| Jars Types | Canning Safety |
|---|---|
| Mason jars | Use jars made specifically for canning to ensure safety. |
| Ball jars | Inspect jars for cracks or chips that could compromise the seal. |
| Sterilize jars by boiling them in water for 10 minutes. |
Storing and Labeling Your Canned Goods
To properly store and label your canned goods, it is essential to follow these guidelines for ensuring their freshness and organization:
-
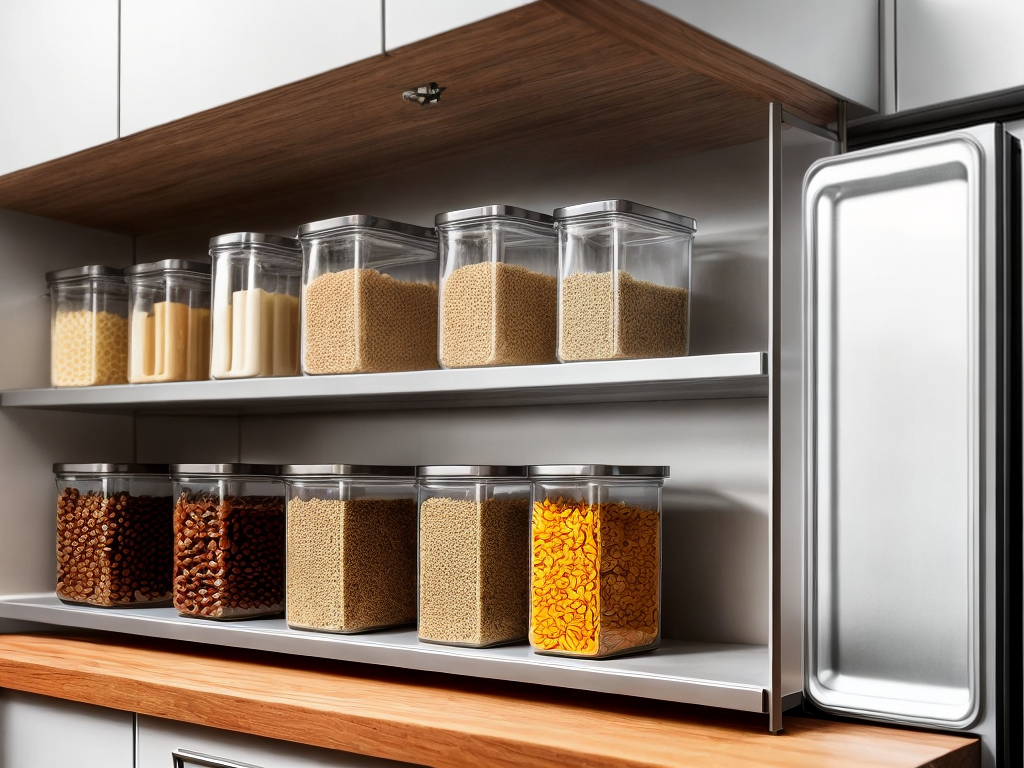
Choose the right storage location: Find a cool, dry, and dark area in your pantry or basement to store your canned goods. Avoid areas that are prone to temperature fluctuations or excessive moisture, as these can compromise the quality of your canned goods.
-
Organize your pantry: Create a system for organizing your canned goods so that you can easily find what you need. Consider arranging them by category or by expiration date. Use sturdy shelves or storage racks to keep your cans properly organized and prevent them from falling or getting damaged.
-
Label your cans: Proper labeling is crucial for keeping track of the contents and dates of your canned goods. Use waterproof labels or a permanent marker to write down the name of the food and the date it was canned. This will help you identify which cans to use first and ensure that you consume them before they expire.
Troubleshooting Common Canning Issues
If you encounter any issues while canning your goods, it is important to troubleshoot common problems to ensure the safety and quality of your preserved food. Canning safety is crucial to prevent spoilage and maintain the integrity of your preserved products. One common issue is jars not sealing properly. This can be caused by a variety of factors, such as improper headspace, debris on the jar rim, or a faulty lid. To resolve this, check that you have left the correct amount of headspace, clean the jar rim thoroughly, and use a new lid. Another issue is mold growth on canned food. This can occur if the jars were not properly sterilized or if the food was not processed at the correct temperature or time. To prevent this, make sure to thoroughly clean and sterilize your jars before canning, and carefully follow the processing instructions for each recipe. Lastly, low acid foods may develop botulism if not processed properly. To prevent this, always use a pressure canner for low acid foods and ensure that the pressure and processing time are accurate. Troubleshooting common canning issues is essential for maintaining food safety and preventing spoilage.
Conclusion
In conclusion, canning is a valuable skill for preserving food and ensuring its freshness and availability throughout the year. By following the step-by-step process outlined in this guide, using the right tools and equipment, and selecting the appropriate foods, you can confidently embark on your canning journey. Remember to properly prepare and sterilize your jars, store and label your canned goods, and troubleshoot any issues that may arise. With practice, you will become proficient in the art of canning and enjoy the benefits of homemade preserved foods.
